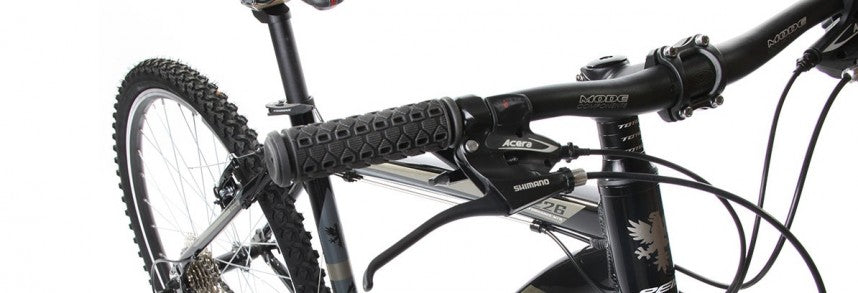
Setting up your brakes correctly can totally change the way you ride your mountain bike - giving you better body position, improving your vision, brake control and comfort.
Start by setting the finger/ lever contact point.
Grip your bars fully (not covering the brakes) in the centre of the grip. Don’t hang the outside of your palm over the end of the bar – it puts pressure on the ulna nerve and can lead to long term pain or damage. Reach your index finger forward and see where it hits the brake lever. It should be in the middle of the v-shaped section where it naturally wants to pull the brakes on.
Next, select the lever angle.
The brake levers need to be 10-20 degrees down from horizontal. This serves two purposes:
- It encourages you to move your body back and down, flexing the elbows and heels at the same time as you stand up for decents.
- The flexed wrist is more supple than one that’s locked straight (which you’d have if the levers were lower) so you absorb bumps and pump the bike more smoothly without upsetting upper body balance.
Finally, adjust lever reach.
Some brake levers can be set to different positions either closer or further from the bars to make them easier to reach for small hands. Everyone can make small or large adjustments to ensure a quick and easy grab on the levers without upsetting the grip on the bars.
A note about gear shifters.
With brakes set you can adjust shifters to make sure they don’t interfere with your grip on the bars or the brake action. Usually if you’ve had to move brakes inwards on the handlebars you’ll need to push the shifters in to touch them.
If you’re an experienced biker and are used to riding with lower angled levers (and many people are) then just try this for a week and see what happens. You’ll be amazed at how much more you see, how smoothly you ride and how easily you pump the front end over rocks and drops.
- David Hannay from Reid Cycles


